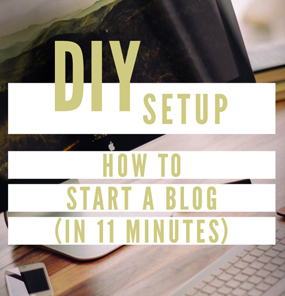

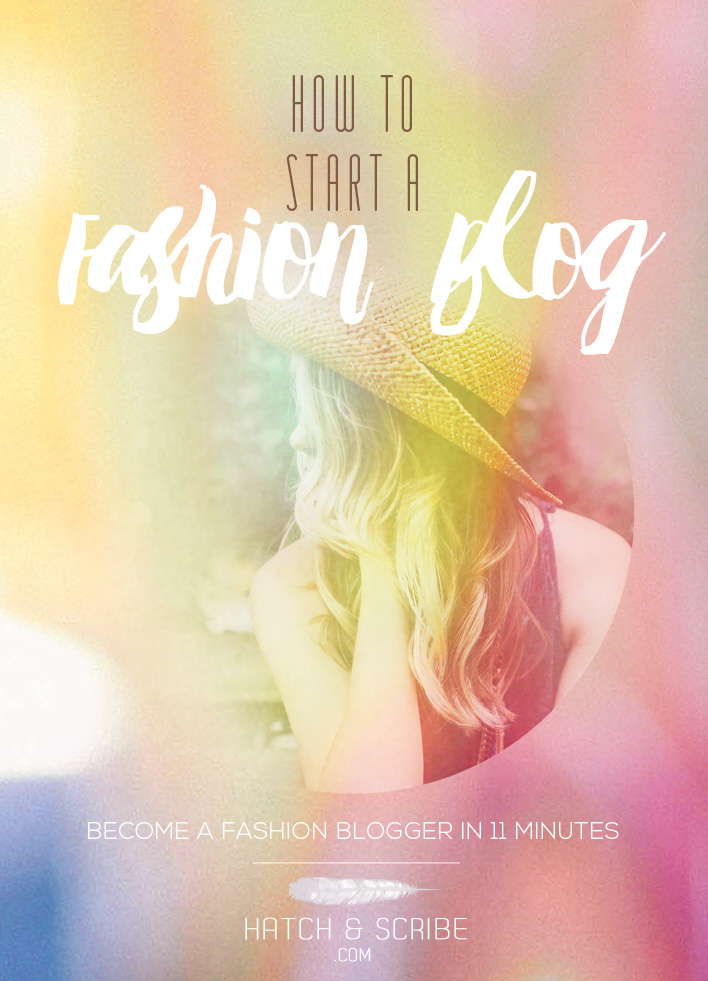
How To Start A Fashion Blog (Become a Fashion Blogger in 11 Minutes)
You love fashion. And you love reading fashion blogs.
Now it’s your turn to be part of the fashion world.
In the next 11 minutes this simple 2 step guide will show you how to make a fashion blog, turning you into the latest fashion blogger.
![]()
Pin this for later, or get started now
Disclaimer: Some of the links below are affiliate links so I earn a commission if you purchase through them. The products and services I highlight are the ones I use to build Hatch and Scribe, and my home design blog Home Tree Atlas.
How To Start A Fashion Blog
There are two simple steps for starting your fashion blog:
- Setting Up Your Domain and Hosting
- Installing WordPress
That’s it. And in 11 minutes you’ll have your own fashion blog to start building. At the end of the post I’ll share links to other posts – such as how to make posts, change the design of your blog, and the 10 tools you’ll need for your fashion blog. But for now lets get started setting up your fashion blog.
Your Fashion Blogger Name
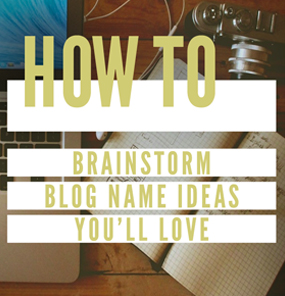
The first thing you are going to need when creating and starting a fashion blog is your name. We ware going to use this as the domain (www.myfashionblog.com). If you still need to come up with a name then you can visit my post here (How To Come Up With Ideas for Fashion Blog Names) which shows you how to create your own fashion blog name.
Step 1: Setting Up Your Domain and Hosting
Once you have your fashion blog name, we can go and register it with a host.
Go to BlueHost and pick the Starter Plan:
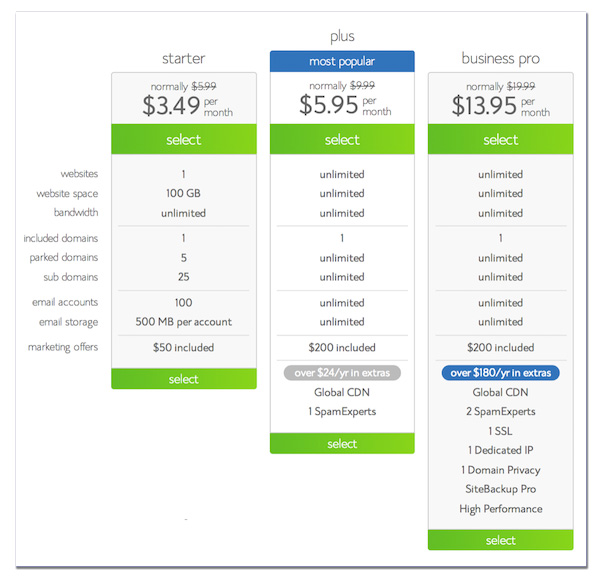
BlueHost will register your domain for free and will host your blog. You need a host to store your blog’s files for you, and serve them to your visitors. I use BlueHost for Hatch and Scribe and for my home design blog Home Tree Atlas.
On the next page, you can type in the blog name you want in the “New Domain” section.
You’ll then be asked to fill in your account details and billing information.
When it comes to the package information I would uncheck all of the boxes and only choose an account plan. Even though it says the price is per month, the amount is paid in a lump sum to save you money. So the 36 month plan will cost you $142, while the 12 month plan will cost you $71.40.

I use BlueHost for Hatch and Scribe and my home design blog Home Tree Atlas – Bonus: you get a free domain name with them. Start your own fashion blog with the Starter Plan for only $3.95 a month.
Step 2: Installing WordPress
Once you’ve registered with BlueHost that means you have your own domain name and website. Now we just need to set up WordPress on it so you can start uploading posts. This will take seconds to do.
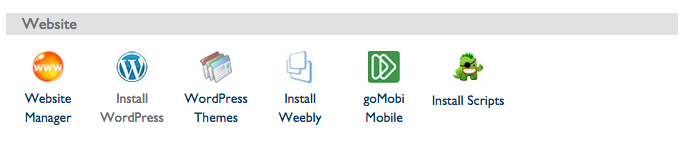
You need to log into your BlueHost account. Go down to the “Website” section and click on the “Install WordPress” button:
Next click on the green “install” button.
On the next page select your domain name and click on the “Check Domain” button.
On the next screen, click on the “Show advanced options”. Write in your blog’s name, and what you want your login details to be (username and password).
Agree to the terms and conditions and click on “install now”.
WordPress Installed: There you have it. WordPress has been installed on your domain. You can now visit your new fashion blog.
Type in your blogs domain with “/wp-admin” at the end of it to log into your new blog: www.myfashionblog.com/wp-admin
Now you are ready to build your fashion blogging empire.
 (A photo of me leaving the Philippines, after Volunteering there for a year and half. While my home design blog was still running.)