
Start Blogging Guide – Writing Your First Blog Post
 So far wer have gone through coming up with a name for your blog that you’ll love, and then how to start a blog using WordPress with your own domain name and hosting account. At this point if you type in your domain name into your web browser, your new blog shows up.
In this post I’m going to show you how to write and publish blog posts with pictures. Then I’ll guide you through some WordPress basics that will make your site look great and work well.
Writing Your First Blog Post: A WordPress Guide
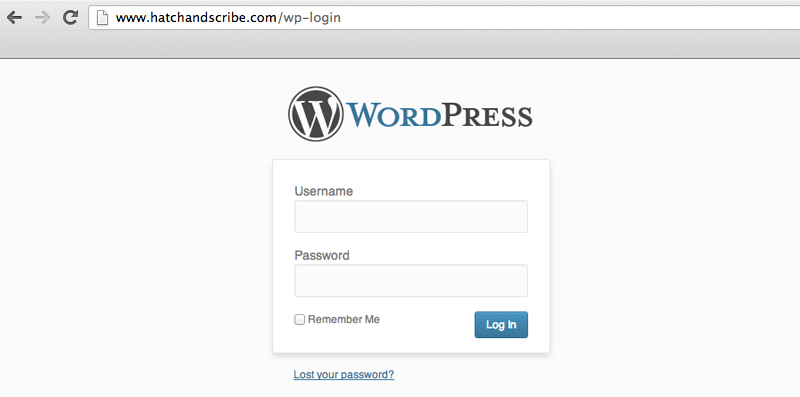
Type in your domain name into your browser and add /wp-admin to the end it: www.yourdomain.com/wp-admin. This is where you log into your blog
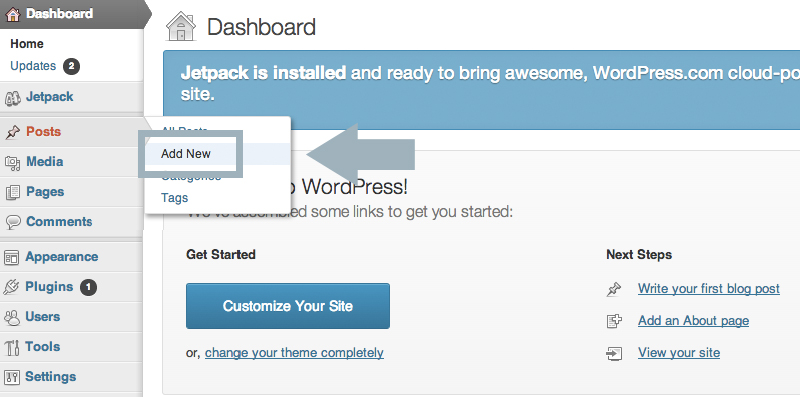
In the left hand column, hover over the “Posts” tab and you’ll see a pop out menu. Click on “Add New”

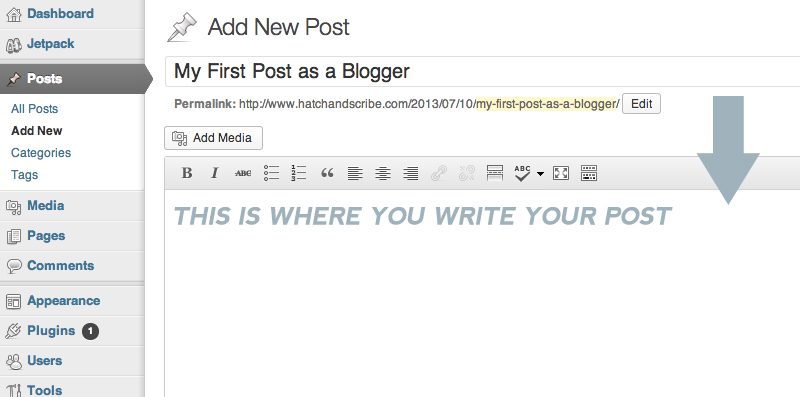
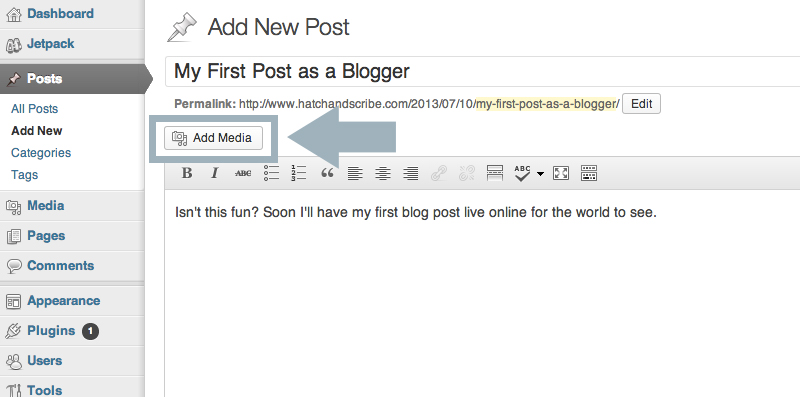
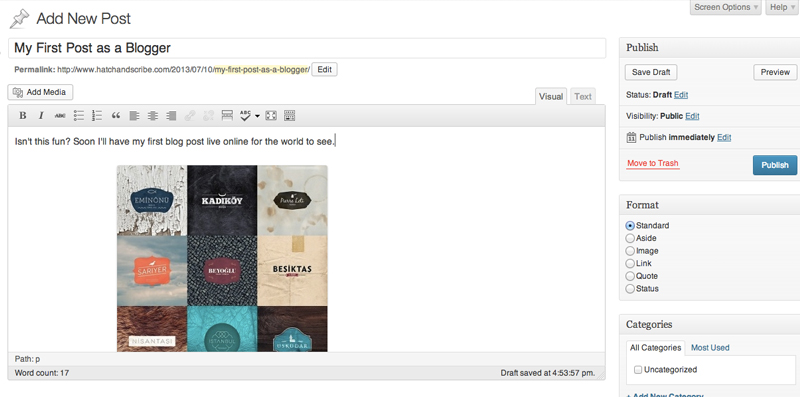
This is where you write your blog posts. Go ahead and write the title of your new blog post
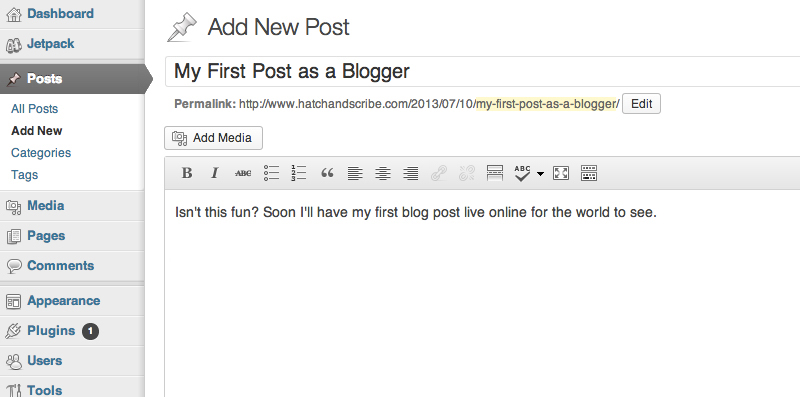
 Now write your blog post in the box below
To add an image to the post click on the “Add Media” button
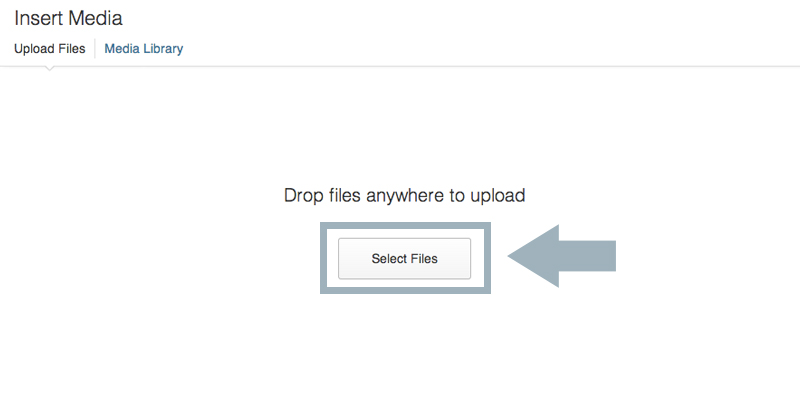
Then click on “Select Files” and select a picture from your computer
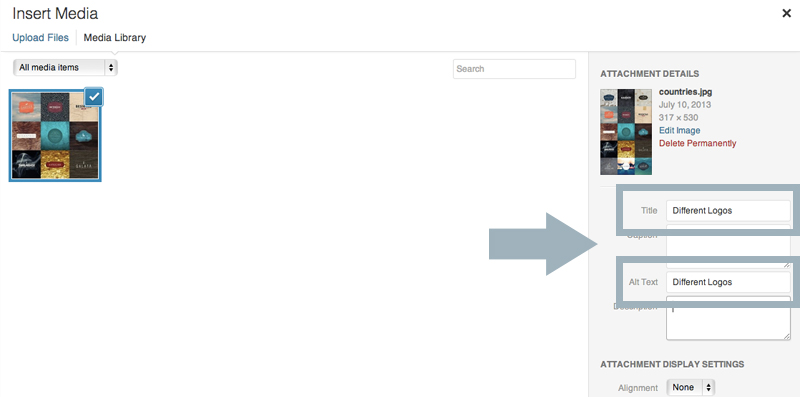
Next we add in some details about the picture. This is so that the search engines know what the image is about. In 2-5 words write what the picture is about in the “Title” and then again in the “Alt Text” section
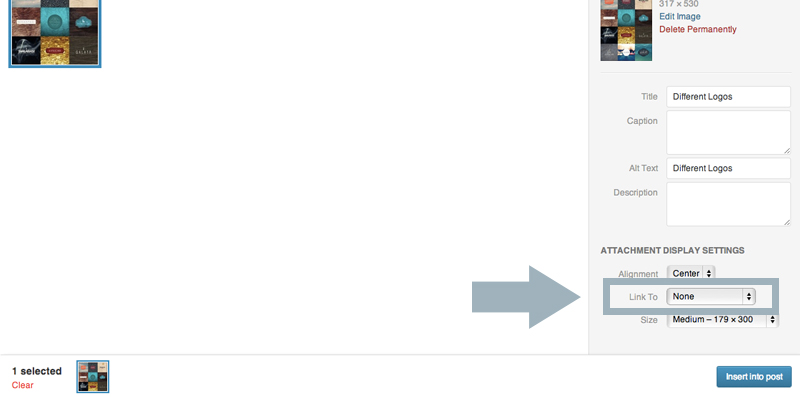
Down below there is the “Alignment” pull down menu that lets you place the image to the left, center, or right side of the post. I chose “center”
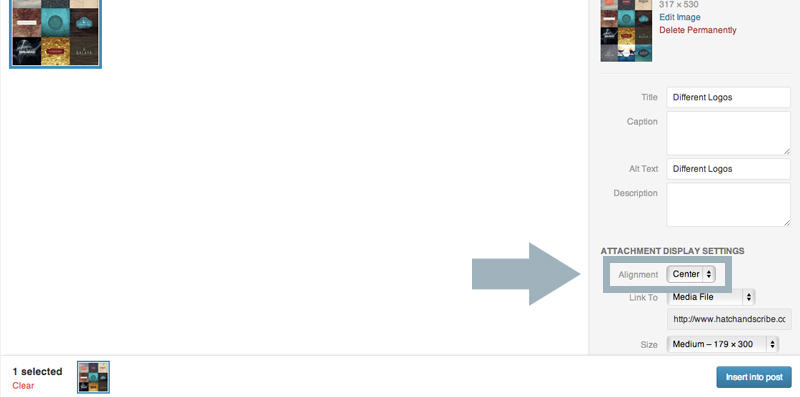
The “Link To” pull down menu lets you select where people are sent to if they click on the image when they read your post. I usually select “none”
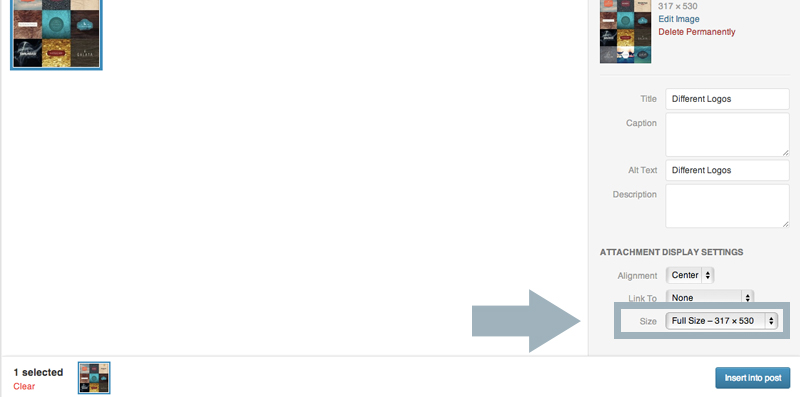
The last option is what size you want your image to be. I go for “full size”
Then click “Insert into post”
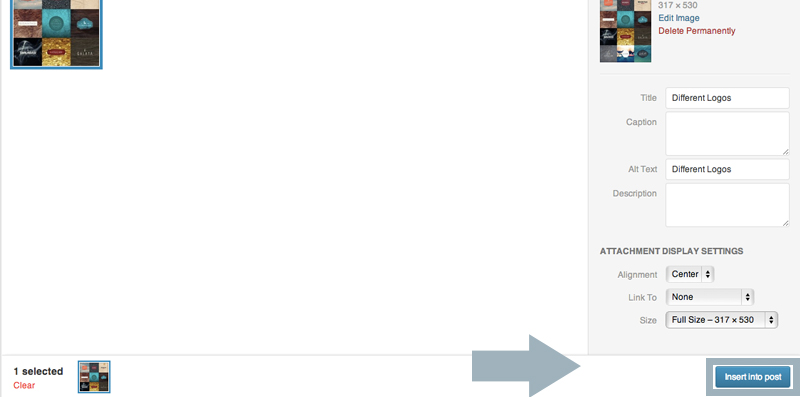
And there you have it – you’ve inserted your first image into your first blog post
 There are just two more things to do before your post goes live on your blog.
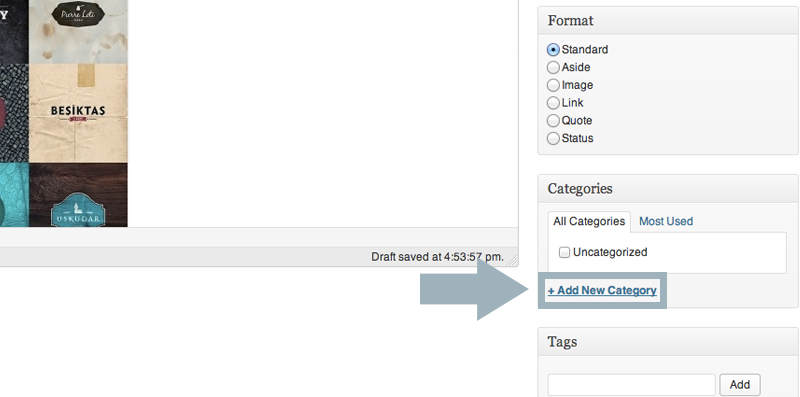
On the right side you’ll see a section called “Categories”. This is how you can keep your posts organized, and help people looking on your site find similar blog posts. So if you have a food blog, then you can group posts into categories such as “Cooking Tips”, “Recipes”, “Asian Food”, “BBQ Food” etc.
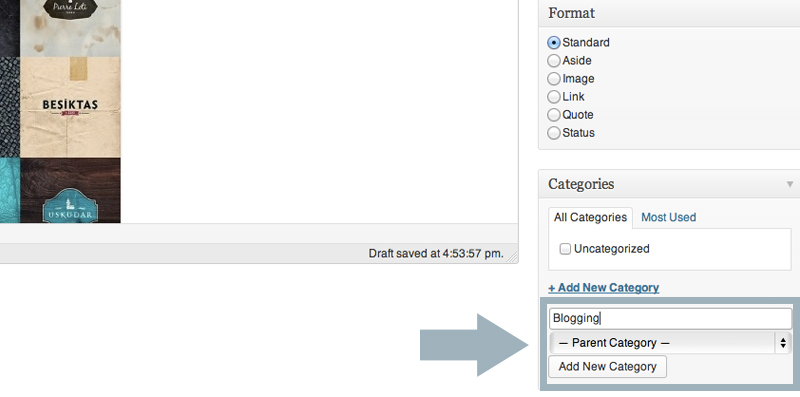
So go ahead and click on “+Add New Category” and write the category you want your new post to be in
Then click the “Add New Category” button underneath the text, and you’re done
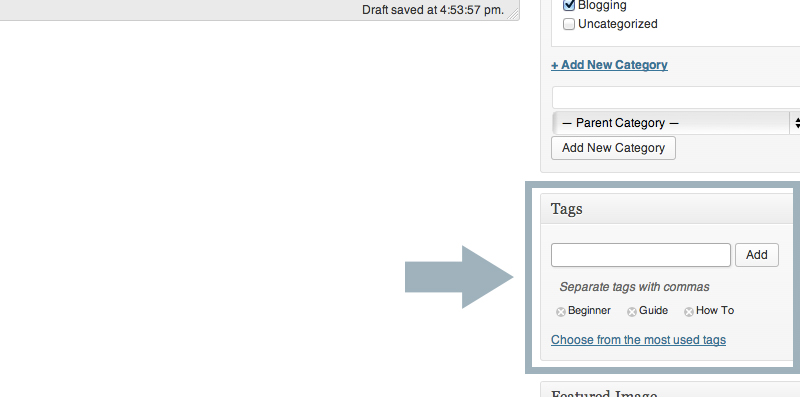
There is also the “Tags” section. This is another way of organizing your posts. Here you can insert general words associated with your blog post
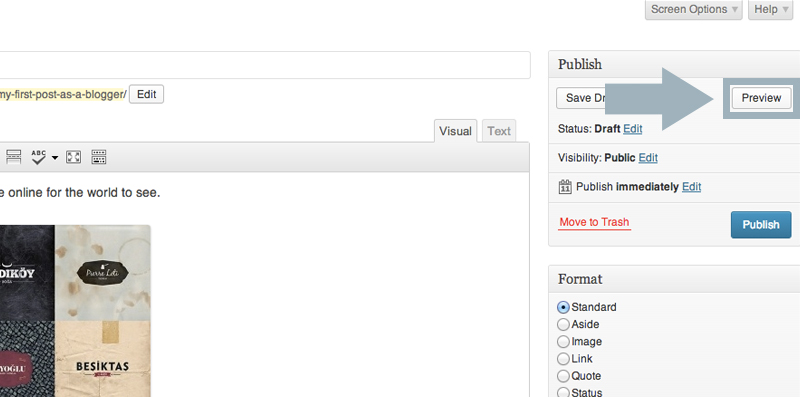
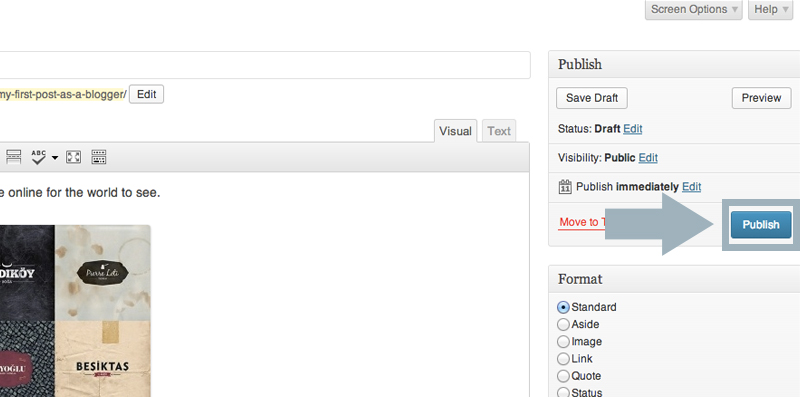
Now you’ve finished your first blog post. It is ready to be published. Go to the top of the page and click “Preview” to see how the blog post looks. Once you are ready, go back and click on “Publish”
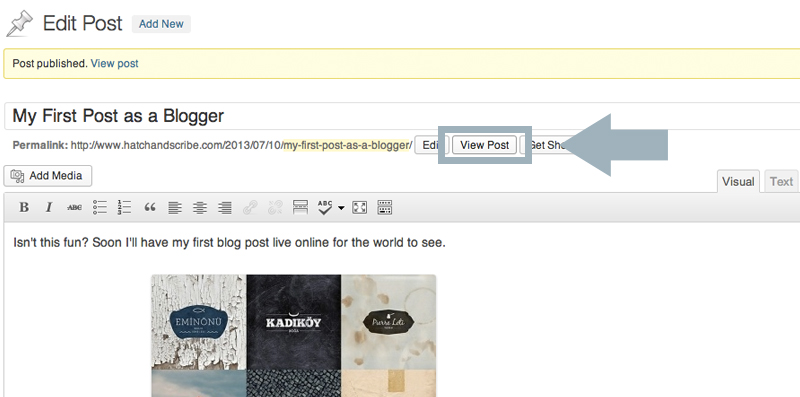
To see your blog post live on your site, click on the “View Post” button
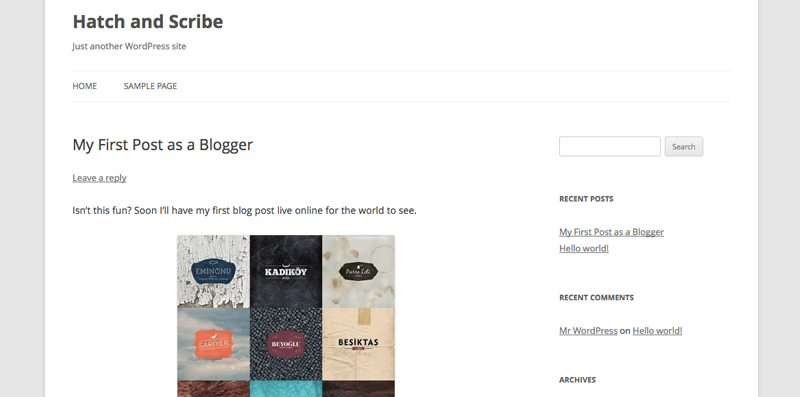
That’s it, your first post with a picture. Now it’s time to make your blog look great and work just right.

 (A photo of me leaving the Philippines, after Volunteering there for a year and half. While my home design blog was still running.)