
Step 4: DIY Branding Part II – Finding a Font for Your Blog Header
 This is a series of articles that shows how you can easily make your own blog header without any special design software or experience. In part I I showed you how to find the best images for your blog header. Now we are going to look for a great looking font so that you can write your blog’s name on top of the image.
Choosing a Font to Use For Your Blog Header
This is going to be pretty simple do, and by the end of it you’ll have a new skill – using designer fonts. We are going to use free fonts that look sleek and elegant. And you won’t need any special software to use them.
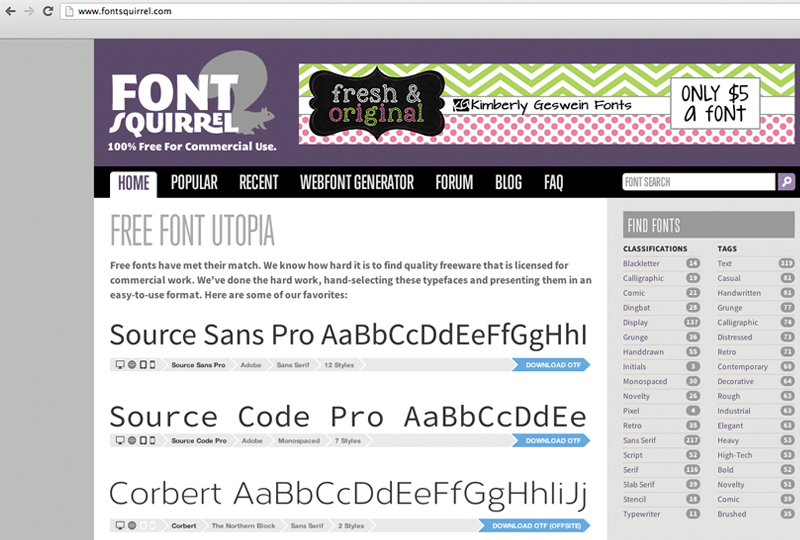
The first step is to go to Font Squirrel. This is a site that has a collection of free fonts.
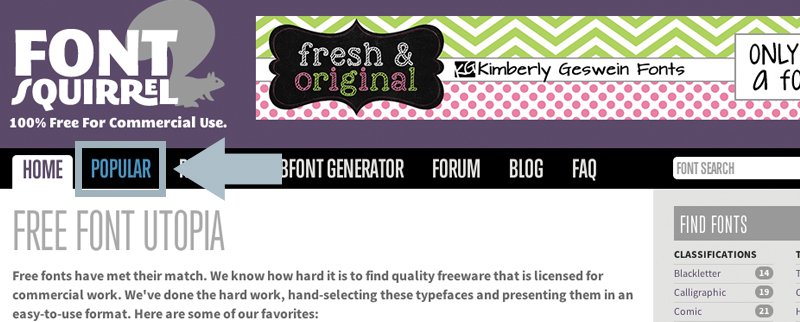
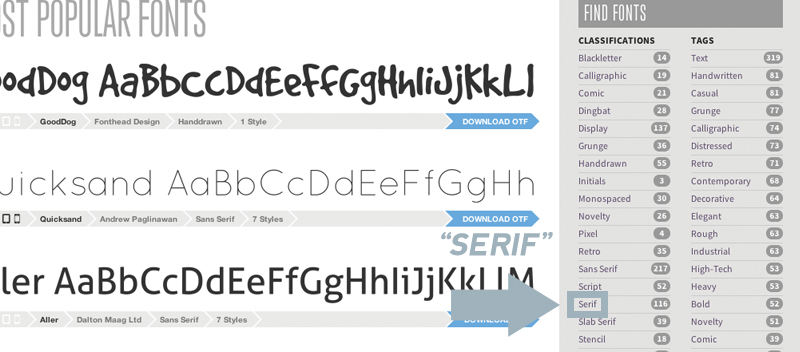
Click on the Popular tab in the menu bar.
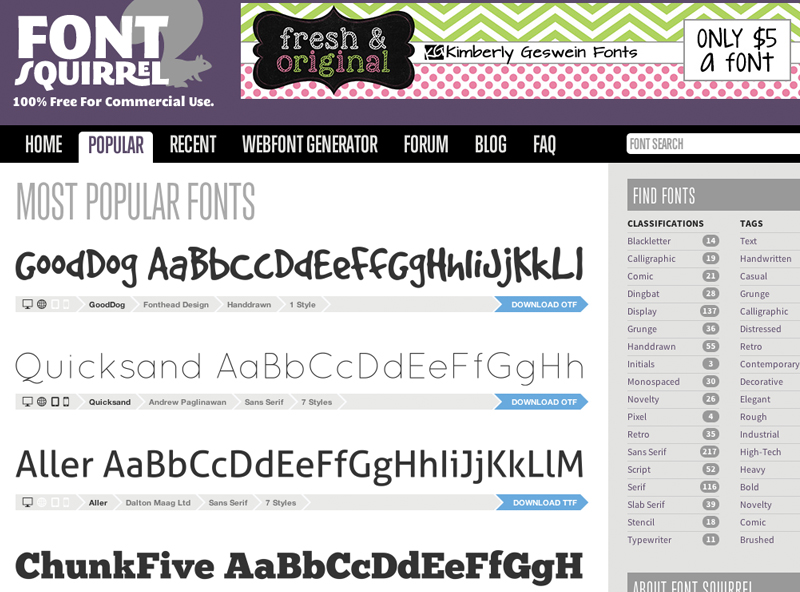
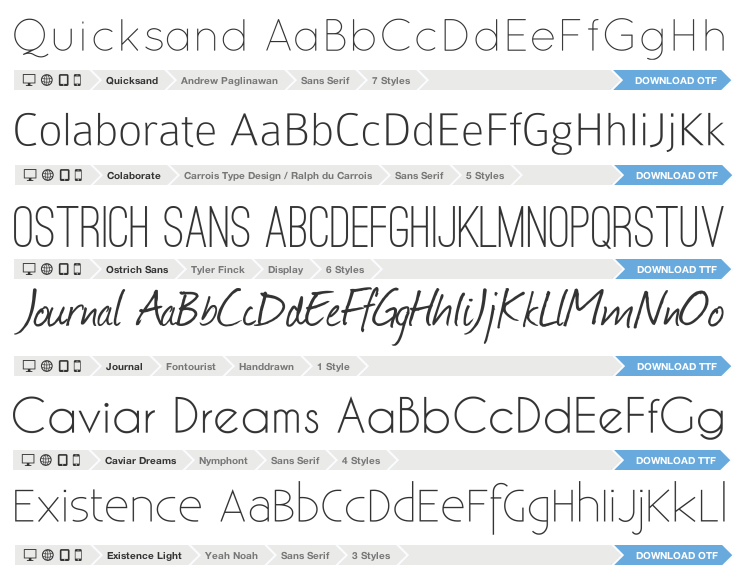
I recommend sticking to the really simple yet beautiful fonts. Fonts like Quicksand, Colaborate, Ostrich Sans, and Journal are great fonts, so are Caviar Dreams, and Existence.
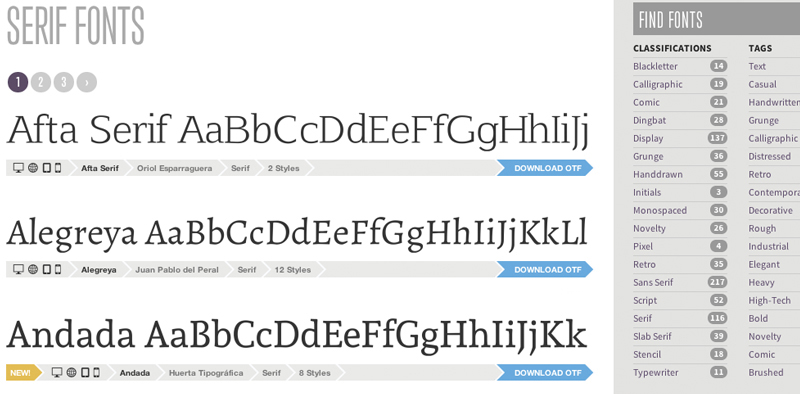
For a more formal looking font, click on “Serif” in the menu section on the right hand side.
You can always click on a font you like, then click on the “test drive” tab in the menu to try out the font. Type out your blog’s name to see how it looks like
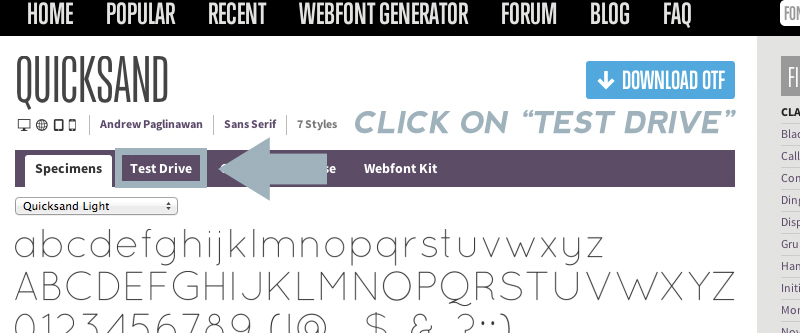
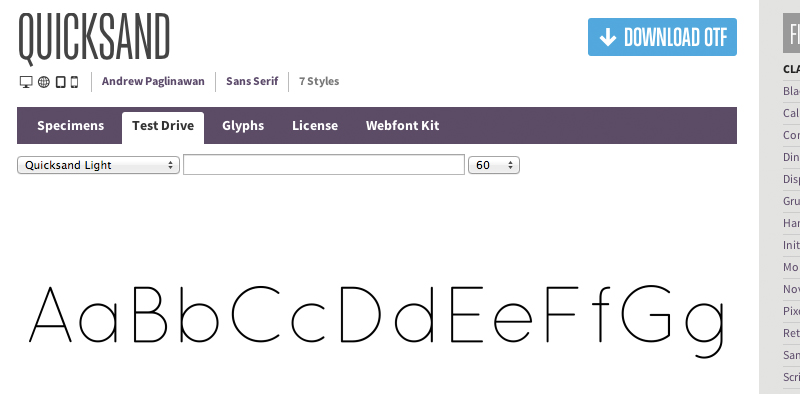
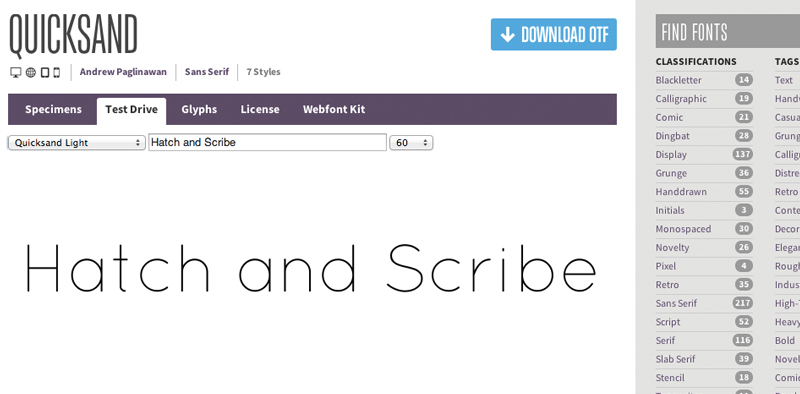
Pretty cool…
Have a look around for a font that you like. I recommend keeping to a simple looking font. This way you can create a more professional looking header. More complicated and decorative fonts need a designer’s eye to make them work (so they don’t look cheesy or tacky), especially when putting it on top of an image to create a header for a blog.
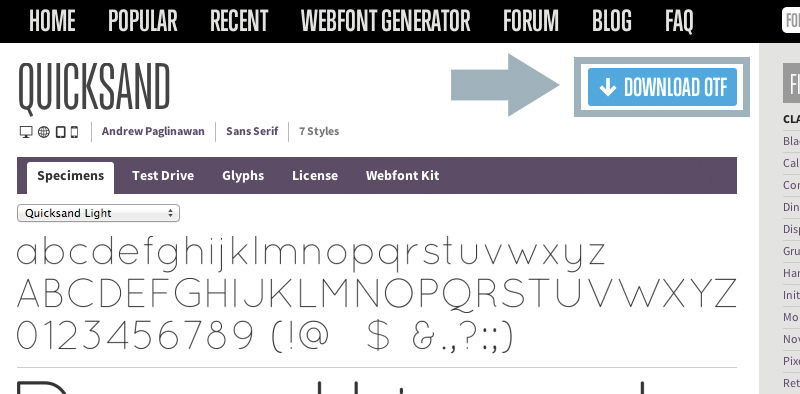
Now I am going to show you how to install the font on your computer. I’m going to use the Quicksand font (found on the Popular page).
So first I go and click on the font that I want to use.
Then click on the blue “Download OTF” button. And it will start downloading the font to your computer.
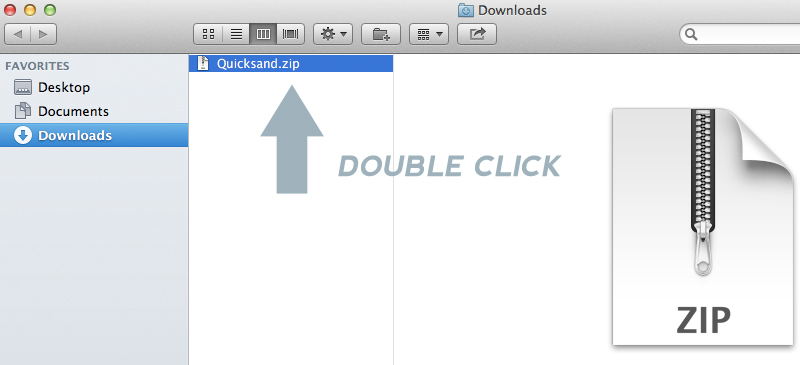
This is how I did it on a Mac (I’ll explain PCs next). I went to the “Downloads” folder on my computer, and double clicked on the font’s zip file. A folder with all the fonts will automatically be created.

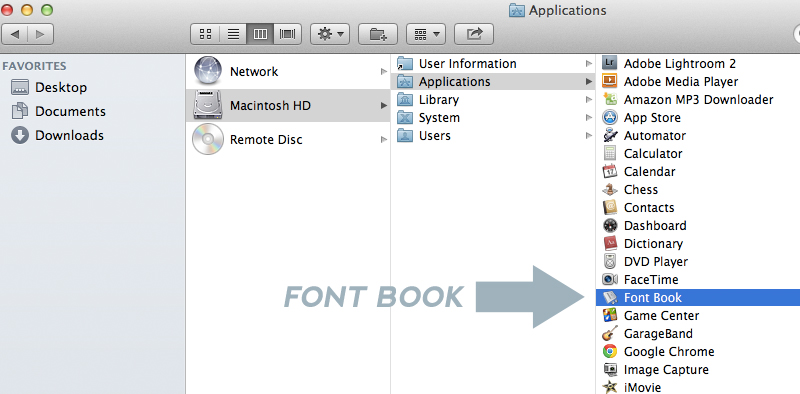
Next go to your Applications and open Font Book
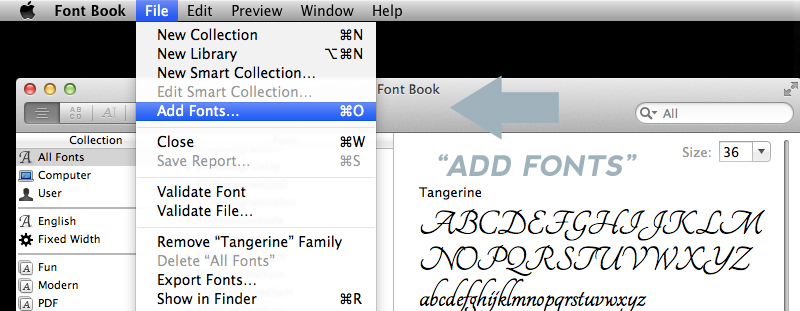
Then go to File and click on Add Fonts
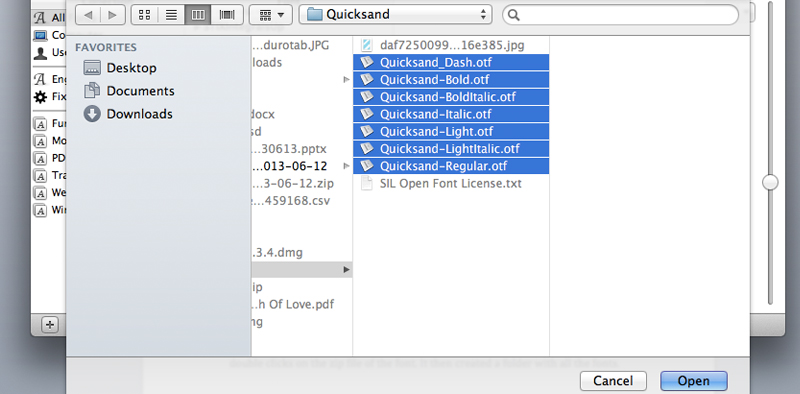
Find your font folder and select all of the OTF files and click on Open.
And you are done – you’ve just installed a designer font onto your computer. You can even use it in Microsoft Word…

For PCs you need to unzip the font file. Do this by double clicking on the zip file in your My Downloads folder.
Once it is unzipped click on your Start button, and go to Appearances and Themes. Click on See Also and then click on Fonts.
Click on File then onto Install New Font.
This is where you need to select the font files. And you’re done. If you have trouble doing this on a PC, here is a good article that shows all the different ways it can be done, and there is also a video guide.
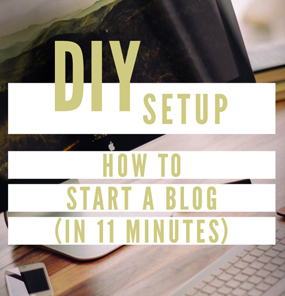
Next up is putting your image and your blog title text together.

 (A photo of me leaving the Philippines, after Volunteering there for a year and half. While my home design blog was still running.)