
![]()
To create your own free blog header, you really only need a simple camera (or smartphone) and a little creativity. This is where I come in – Mr Blog Header Maker.
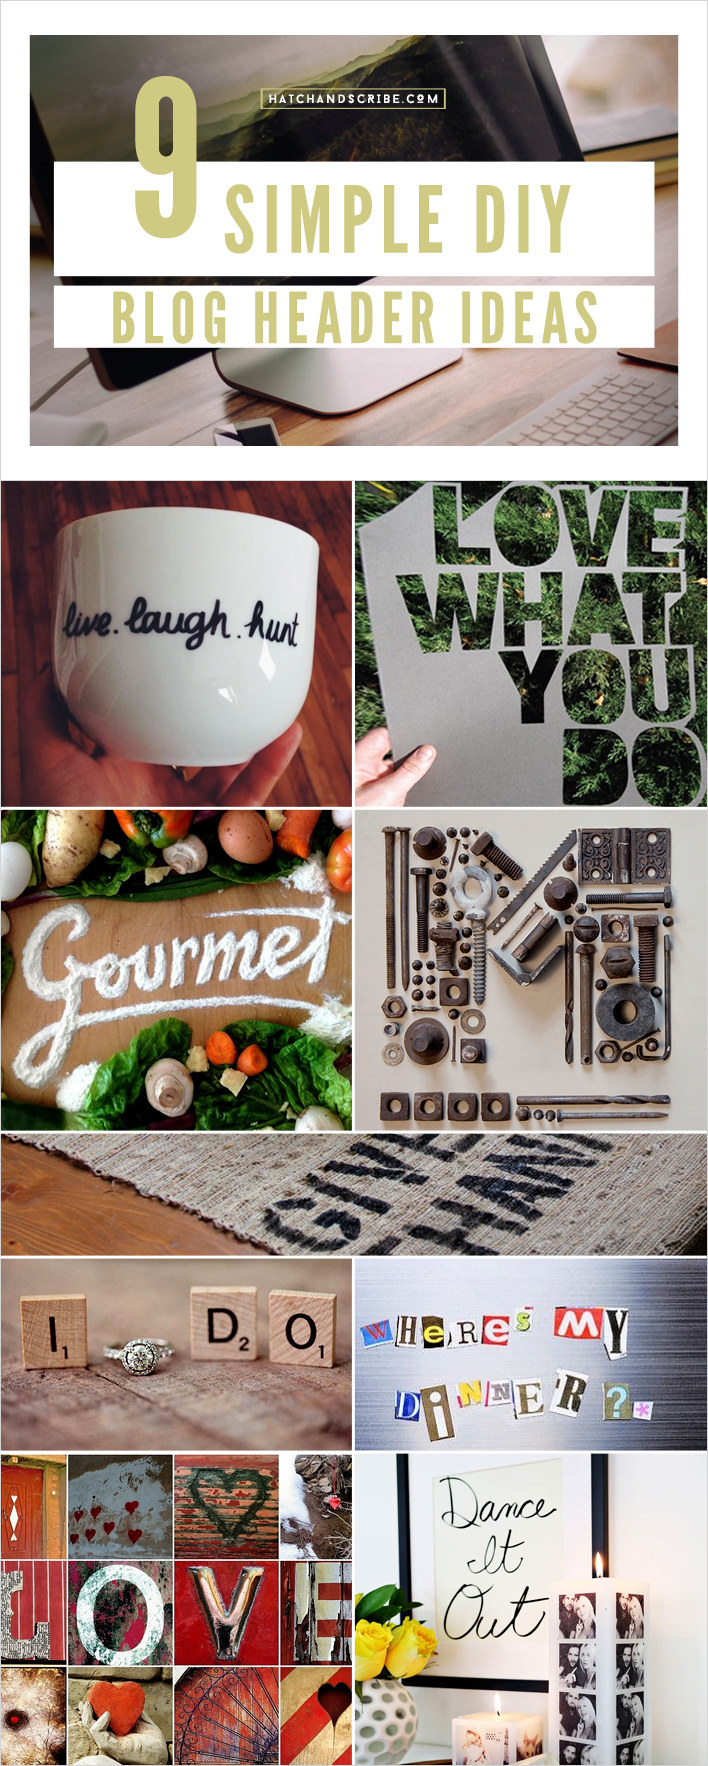
I’ve come up with a list of creative ideas that show you how to make a blog header design of your own. And at the end of the article, I give a few photography tips on how to get the best picture of your DIY project.

I use BlueHost for Hatch & Scribe and my home design blog Home Tree Atlas
My guide here will show you how to register a .com and set up a blog.
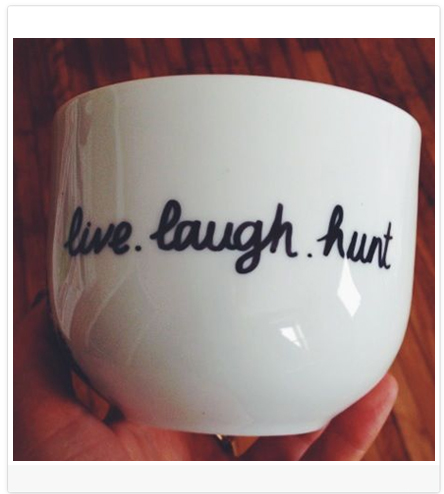
1. The Sharpie – Sharpie everyday household objects with your blog name – from mugs, plates, to Converse shoes, t-shirts, or a backpack
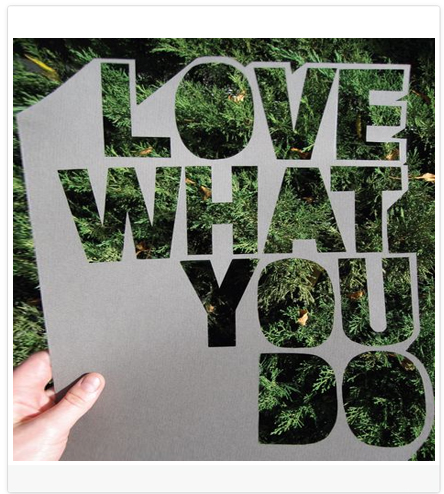
2. The Cutout – Take a piece of cardboard and cut out the name of your blog. Then take this cutout and put it up against a unique texture like a tree, water, fire, or anything really..
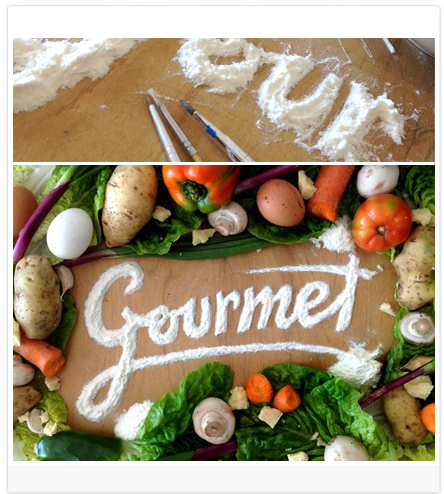
3. The Food – If you are starting a food blog, then why not head to the kitchen and use ingredients to spell out your blog header. Use flour, sugar, icing, raisins, coffee beans, cooking oil…
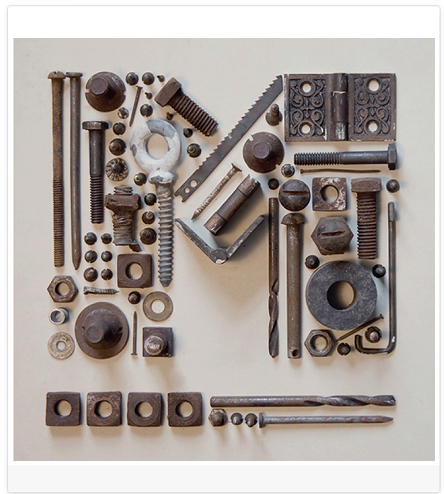
4. The Everyday – You can also use everyday items to spell out your blog name – from electrical cables and pebbles, or fabric for a fashion blog. You don’t have to spell out the entire name of your blog – you can just create the first letter.
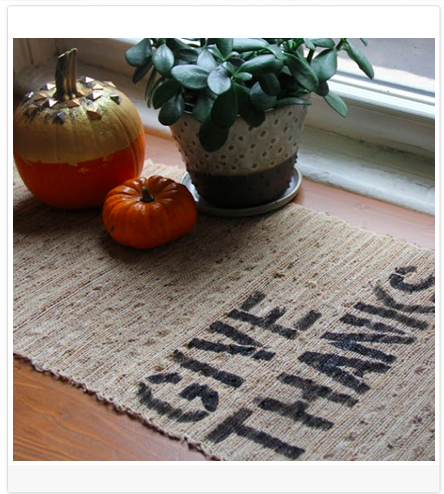
5. The Stencil – You can create a stencil, or buy stencil letters, and paint over anything that relates to your blog. Some examples include stencilling over over photographs, fabric, clothes, or scrap wood.
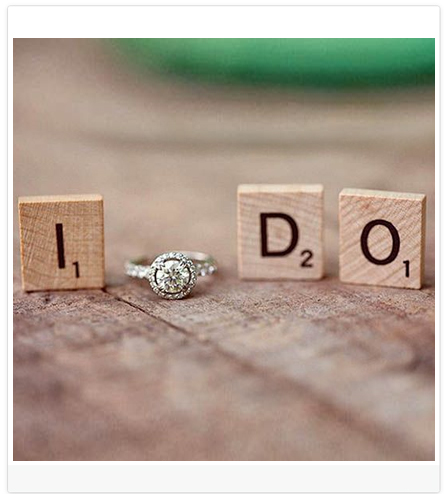
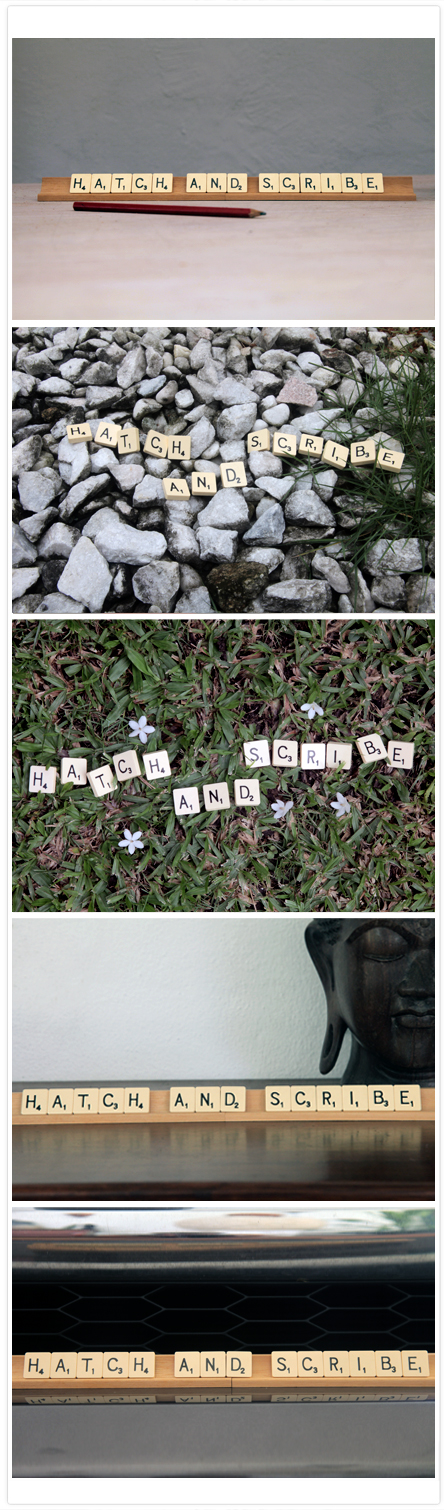
6. The Game of Scrabble – Think of creative places where you can spell out your blog name with Scrabble letters
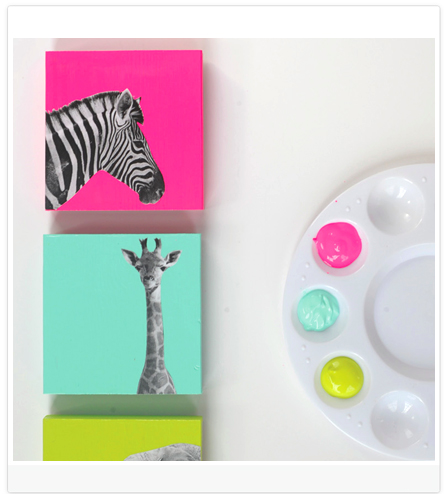
I was able to create these photographs for a blog header pretty quickly:
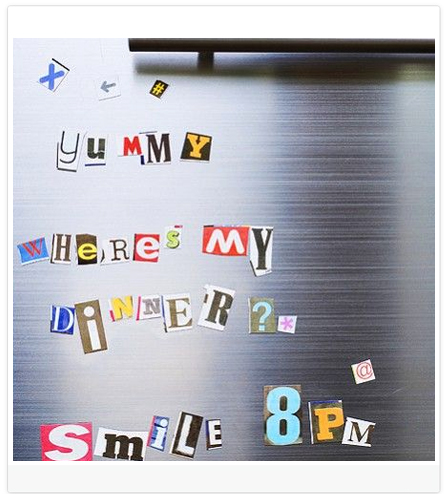
7. The Ransom Note – Another way to spell out your blog name is to cut out letters from magazines. Then just think of a place that relates to your blog to lay them out. Like on the fridge if you are starting a food blog, on asphalt if you are starting a travel blog, or on top of a dress for a fashion blog.
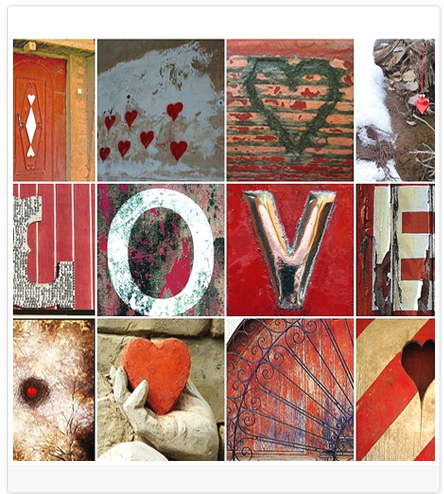
8. The Snapshots – Take different photographs of letters to spell out your custom blog header design. Instagram has a Layouts app that you can use to layout the photos together.
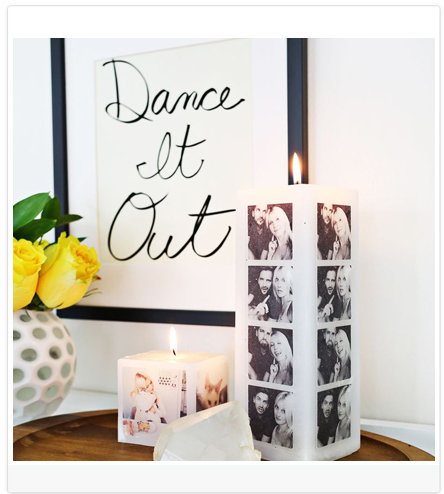
9. The Frame – One last idea is to handwrite your blog name and frame it. Create a setting around it for some added style. Not only do you get a custom blog header from this DIY, but a framed piece of artwork to keep you inspired while starting your blog.
Mix and Match Different Ideas
Keep getting creative. Mix and match the different ideas above to create unique free blog headers.
- Mixing together the Sharpie and the Scrabble ideas: Take Scrabble letters and lay them on a white sheet of paper – then Sharpie doodles around the letters.
Look at other DIY ideas and images on Pinterest for inspiration and combine them to create new blog header ideas. For example: the wooden art blocks DIY seen below can be combined with Scrabble letters to spell out your blog’s name. I found the wooden art blocks DIY just by searching for “DIY art” on pinterest – and I found a lot of cool ideas.
Simple Photography Tips Mini Tutorial
It doesn’t matter which idea you use to create your own DIY blog header, you will need to be able to take a good photograph of it. This can be done with any camera or smartphone – but there are just a few tips to follow to get a good looking photograph.
1. Lighting is Key
The light you use to light up your header will determine if it looks good or not. Most people will just take the photograph in their room, using the lights in the room. This is a big mistake.
Instead, turn off all of the lights in the room. And set up a table near a window. Natural daylight coming through the window is the best way to get a good looking photograph. If this is not an option, then go outside – but only in the morning or late afternoon. You don’t want mid day sunlight as it is too harsh.
2. Creating a Setting
The background you use for your photograph can make or break the picture. Use something interesting, like an old piece of wood. Or how about a sauce pan if you are starting a food blog. Or use a large sheet of white/black/green paper if you want a more minimalist look.
Other ideas include using the grass in the garden, ceramic tiles in the kitchen, asphalt, or pebbles to create the background for your blog header.
There is also props to play with. Use kitchen utensils for a food blog. Ticket stubs for a travel blog. Scraps of fabric for a fashion blog. Black and white photos for a photography blog. Get creative – find objects that relate to your blog.
Just by following those 2 simple rules: Lighting and Creating a Setting, you’ll be able to take a good looking photograph of your DIY blog header.
Check out my other simple guides:
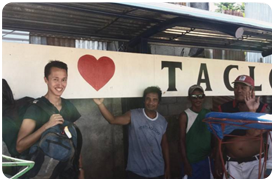 (A photo of me leaving the Philippines, after Volunteering there for a year and half. While my home design blog was still running.)


Comments are closed.